
How to Use Nano Banana: Step-by-Step AI Image Guide
Learn how to use Nano Banana to create AI images, edit photos, write better prompts, refine results, and build visuals for product, social media, and design work.
How to Use Nano Banana
To use Nano Banana, choose a text-to-image or image-to-image workflow, write a clear prompt, generate a first result, review what worked, and refine the prompt with better subject, style, lighting, composition, and use-case details. The most reliable Nano Banana workflow is not a single perfect prompt. It is a short creative loop: describe the image, generate, compare the output, adjust the instruction, and keep the result that best fits your goal.
If you are completely new, start with the Nano Banana AI Image Generator. If you want to understand what the tool is before using it, read What Is Nano Banana?.
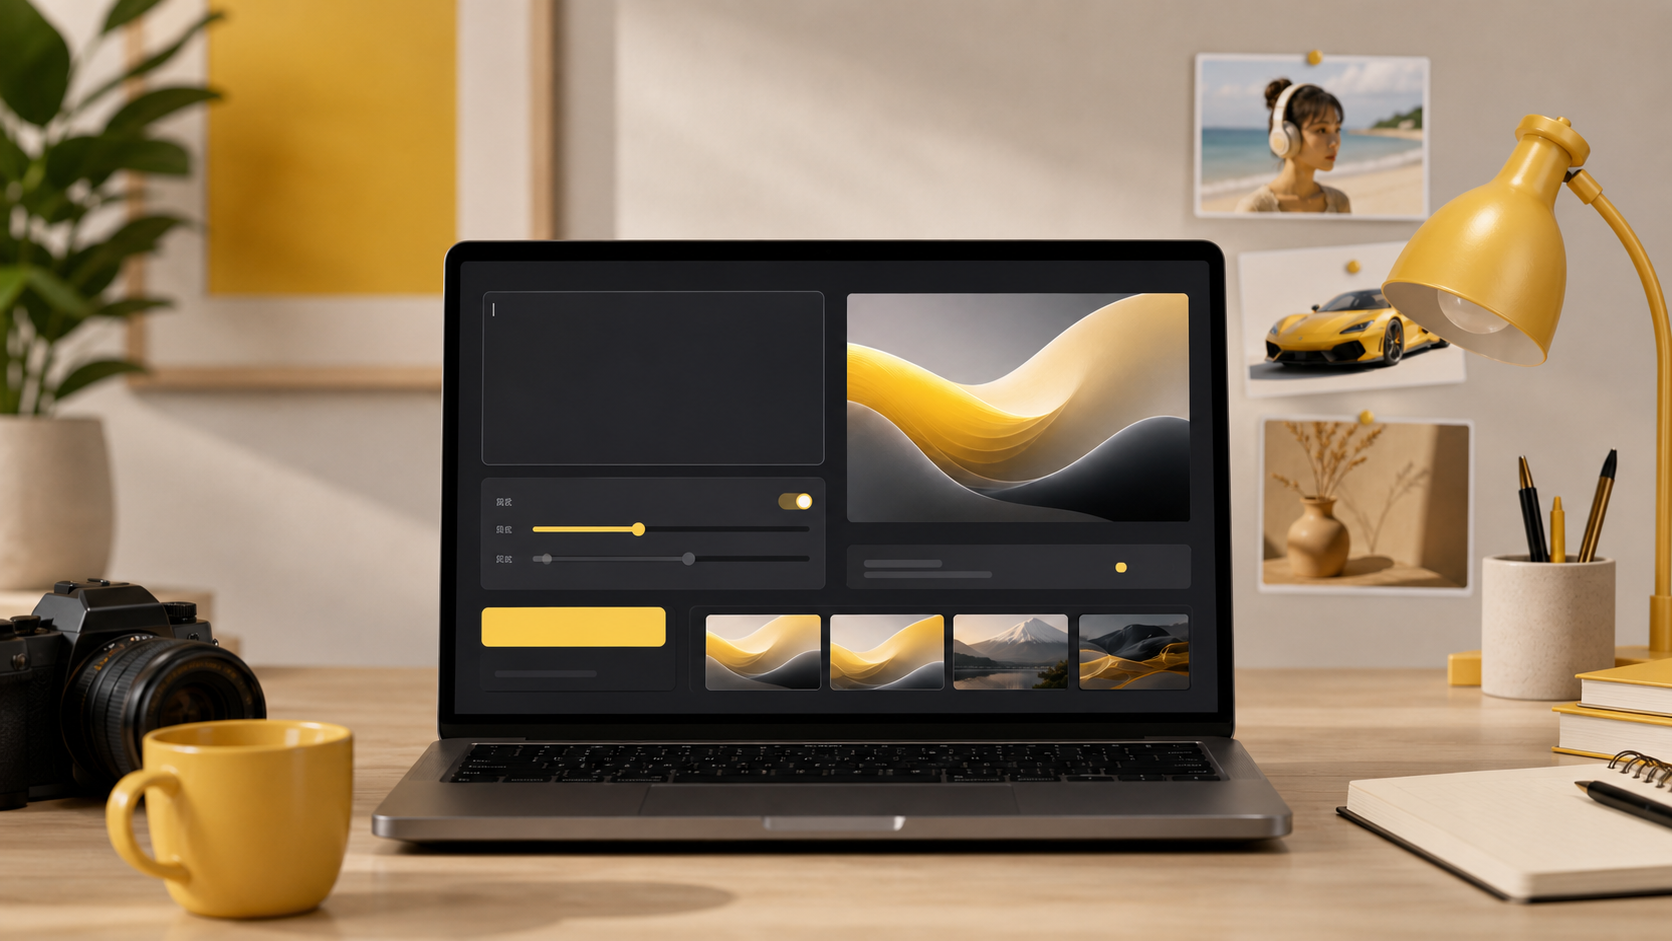
A realistic before-and-after workflow: start from a source image, describe what should change, then compare the output before refining again.
Quick answer
Nano Banana is easiest to use when you begin with a specific job. Do not only write "make a cool image." Instead, decide whether you need a product photo, social media visual, thumbnail, poster, portrait, concept image, or edited version of an existing photo. The use case tells the tool what kind of result you expect.
A simple starting prompt can work, but a structured prompt works better:
Create a clean ecommerce product photo of a matte black water bottle on a light gray studio background, soft shadow, centered composition, realistic commercial photography, minimal props.This prompt includes subject, use case, background, lighting, composition, and style. Those details make the request easier to interpret.
Step 1: Choose a workflow
Start by choosing the right entry point:
| Goal | Best workflow |
|---|---|
| Create a new visual from an idea | Text-to-image |
| Transform an uploaded photo | Image-to-image |
| Test prompt examples | Prompt gallery |
| Create fast marketing or creator visuals | AI image generator |
| Edit or improve a source image | Image-to-image generator |
Use text-to-image when you only have an idea. Use image-to-image when you already have a source image and want to change something about it. Use the prompt gallery when you want examples before writing your own prompt.
The most reliable workflow is iterative: write a clear first prompt, generate, review the preview, and refine one or two details at a time.
Step 2: Write a clear first prompt
Your first prompt should answer six questions:
- What is the main subject?
- What should the image be used for?
- What style should it follow?
- What background should it have?
- What composition or camera angle should it use?
- What details must stay accurate?
Here is a weak prompt:
Make a product image.Here is a stronger prompt:
Create a realistic product photo of a wireless earbud case on a clean white studio background, soft natural shadow, front-facing angle, premium ecommerce style, high detail, no text.The second prompt gives Nano Banana enough information to produce a result closer to a real use case.
Step 3: Generate the first result
After writing the prompt, generate the first version. Treat it as a draft, not the final answer. Look for the biggest issues first:
- Is the subject correct?
- Does the style match the goal?
- Is the background useful?
- Is the image framed correctly?
- Does it look appropriate for the intended platform?
- Are there extra objects, wrong details, or confusing elements?
The first result tells you how the tool interpreted your instruction. That feedback is useful. If the output is close, refine details. If it is far away, rewrite the prompt with a clearer use case and fewer ambiguous terms.
Step 4: Refine one thing at a time
The fastest way to improve results is to change one or two variables at a time. If you change the subject, style, angle, lighting, and background all at once, it becomes hard to know what improved the image.
Use this refinement pattern:
| Problem | Prompt fix |
|---|---|
| Image is too generic | Add use case and style |
| Subject is unclear | Put the subject at the start |
| Background is distracting | Specify a simple background |
| Lighting feels flat | Add lighting direction and mood |
| Composition is wrong | Specify close-up, centered, wide shot, or top-down |
| Output has unwanted text | Add "no text, no watermark, no logo" |
For example, if a product image looks too busy, add: "minimal background, no extra props, centered product, ecommerce catalog style."
Step 5: Use prompt patterns by scenario
Different tasks need different prompt patterns.
Product photo prompt
Create a realistic ecommerce product photo of [product] on a [background], [camera angle], [lighting], [style], clean commercial composition, no text.Social media prompt
Create a vibrant social media image about [topic], bold subject, clean background, modern creator style, high contrast, square composition, no readable text.YouTube thumbnail concept prompt
Create a dramatic YouTube thumbnail concept showing [subject], strong focal point, expressive lighting, high contrast, clean composition, room for title text on one side.Image editing prompt
Use the uploaded image as the base. Keep [important subject] consistent. Change [specific element] to [new element]. Preserve lighting, perspective, and natural detail.These are starting patterns. The best prompt is the one that matches your actual goal.
Step 6: Save, compare, or edit again
When you get a strong result, save it or continue editing it. A useful Nano Banana workflow can be:
- Generate three different directions.
- Pick the strongest one.
- Use image-to-image editing to refine the best version.
- Download the final image or use it in a design tool.
Nano Banana can also be part of a larger workflow. You might generate a product image in Nano Banana, then place it into a Canva layout, landing page, ad mockup, or social media post. This is often more practical than expecting one tool to do every step.
Common mistakes
Avoid these mistakes when using Nano Banana:
- Writing only one vague sentence.
- Asking for too many different styles in one prompt.
- Forgetting to mention the intended use case.
- Changing the whole prompt after every result.
- Expecting perfect text inside the generated image.
- Using a source image but not explaining what should stay the same.
- Treating the first output as the final version.
The tool works better when you guide it like a creative assistant. Give it context, review the result, then make the next instruction more specific.
Example workflow
Suppose you want a visual for an ecommerce store.
First prompt:
Create a product photo of a ceramic coffee mug on a table.Better prompt:
Create a realistic ecommerce product photo of a white ceramic coffee mug on a light oak table, warm morning light, soft shadow, minimal background, centered composition, premium lifestyle product photography, no text.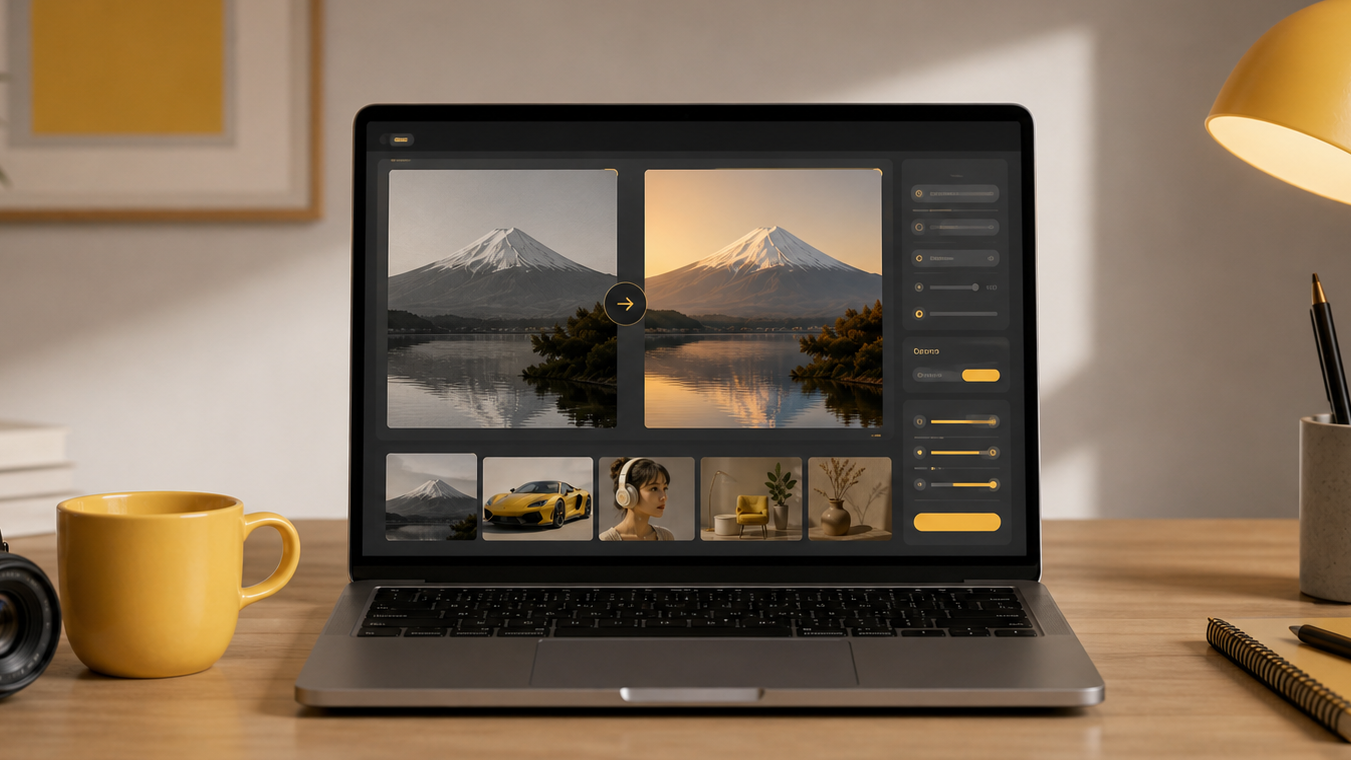
Specific prompts can guide the output toward product-style visuals, catalog images, creative scenes, mockups, or other practical formats.
Refinement prompt:
Keep the white ceramic mug and warm morning light. Make the background cleaner, reduce extra objects, keep the mug centered, and make the image feel more like a premium ecommerce product photo.This sequence is more reliable than trying to write a perfect prompt immediately.
Frequently asked questions
How do I use Nano Banana?
To use Nano Banana, choose a text-to-image or image-to-image workflow, write a clear prompt, generate a first result, review what worked, then refine the prompt with better subject, style, lighting, composition, and use-case details.
Do I need a perfect prompt to start?
No. Start with a simple prompt, then improve it after seeing the first result. The best Nano Banana workflow is iterative: generate, review, clarify, and generate again.
Can I use Nano Banana with an existing image?
Yes. Use an image-to-image workflow when you want to transform a source image, adjust the scene, test a new style, change the background, or create a more polished version of an existing visual.
What should a good Nano Banana prompt include?
A good Nano Banana prompt includes the subject, intended use, style, composition, background, lighting, mood, and any constraints that matter for the final image.
How can I get better results from Nano Banana?
For better results, write prompts with specific visual details, generate multiple versions, compare outputs, reuse the best wording, and refine one variable at a time instead of changing everything at once.
What can I create with Nano Banana?
You can create AI images for product photos, creator thumbnails, social media posts, blog visuals, design mockups, ad concepts, character ideas, and image transformation experiments.
Next step
Open the Nano Banana AI Image Generator, try one product-style prompt, and then test one edit with the image-to-image workflow. For deeper editing ideas, read Advanced Image Editing Techniques with AI.
Categories
More Posts

Advanced Image Editing Techniques with AI
Master professional image editing using Nano Banana's advanced AI tools

Getting Started with AI Image Generation
Learn how to create stunning images using Nano Banana's powerful AI tools

AI-Powered Image Search and Discovery
Find and explore AI-generated images with smart search capabilities
Newsletter
Join the community
Subscribe to our newsletter for the latest news and updates